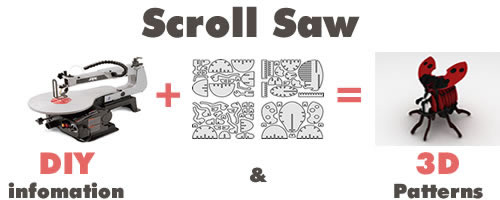


1: Use a #3 scroll saw blade. This blade is easier to control than #5 blades.
2: Use a 1/16 drill bit to drill starter holes for the inside cuts if required.
If the pattern overhangs the edge of the board, trim it back with your Scroll Saw. Your fingers can slip if you grab paper when you are expecting to grab wood.
Hide the start of your cut in a nook or curve of the pattern. An inconspicuous start will help you to end up with a smooth finished piece.
As you cut the parts it is important to check the fit of the interlocking joints.
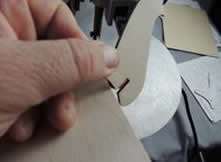 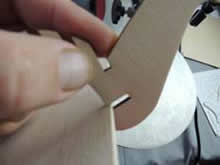
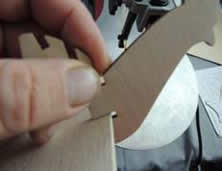 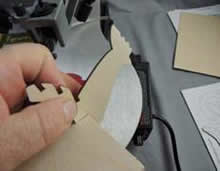
Cut at a slow, steady pace, but don’t cut so slow that you burn the wood.
Beginners may want to cut the outlines first, then returning to cut the slots in a second pass.
Double-check the width of the joints on the patterns against the width of the wood before you begin to cut. Wood that is sold as 1/8” or 3mm plywood often measures slightly less in thickness.
Check the joints again after they are cut by test-fitting the joint with a piece of scrap wood.
Cutting Perfect Tabs with Your Scroll Saw
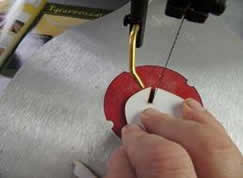
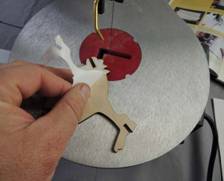
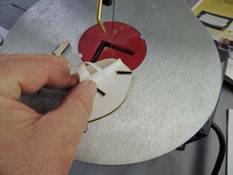
Cutting the tabs by which the pieces are connected may look like a difficult task, especially to a beginner. Follow the pictures shown in the document, and do some practice on a piece of scrap wood. This will help you learn to make perfect slots and tabs.
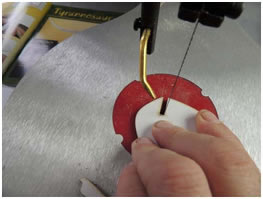
Always cut to the outside of the pattern line. Cutting to the outside will make the tab just a little too narrow, making the fit very tight. Cutting to the inside of the lines will make the fit too loose, making it necessary to re-cut the entire piece. Test fit the tab with a small piece of waste wood. If the fit is too tight, simply remove a small portion of wood with the scroll saw or with a piece of coarse sandpaper until the fit is perfect.
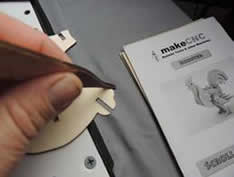 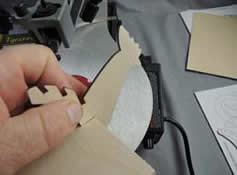
Cutting Perfect Corners Every Time
Cutting perfect corners with your Scroll Saw is easy. Just follow the techniques shown in the diagrams below:
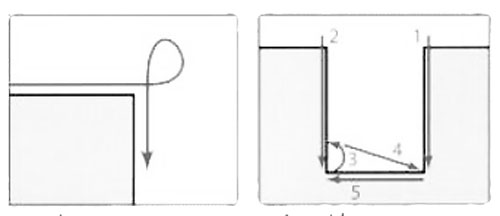
1: Use a looping cut to make outside corners.
2: Make inside corners with several cuts.
Scroll Sawing Tip:
Enlarge or reduce the patterns to create table top or room-sized models. In your PDF printing preferences you can do this by say enlarging the PDF print by 100% to print out patterns that will work with ¼ inch material.
Assembling and Finishing Your 3d puzzle Scroll Saw Pattern
.
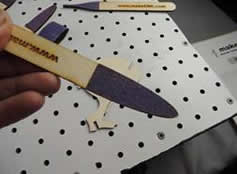
Once you have cleanly cut out all you parts and you are happy with the fit you should remove the pattern paper and move on to doing any finish sanding of the parts before doing a test assembly of the puzzle.
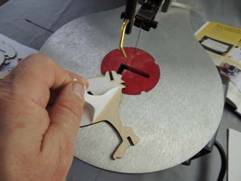 
 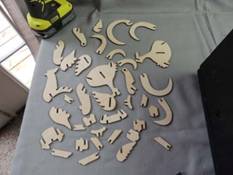
If you live in a confined space and do not have good ventilation then you can make a box like the one you see in the images here connected to a shop vac to suck the dust away as you are working on any sanding you may need to do to clean up the puzzle parts. If you use MDF to cut your puzzles remember it can be toxic and the dust is not pleasant so the use of this type of system is almost a must.
We also made ourselves some detail sanders for this type of work and other craft work and you can purchase the patterns to make your own click here or purchase a set of them ready-made if you live in the lower 48 states in the USA. click here
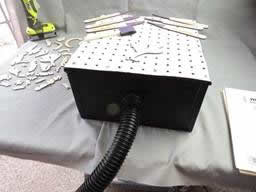 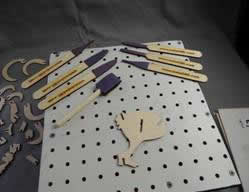
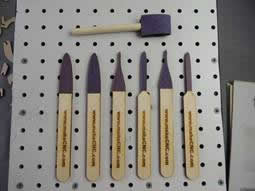 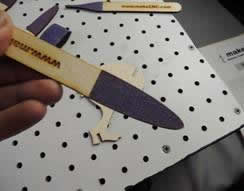
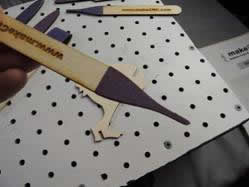 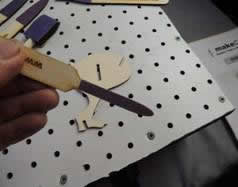
You can also use power tools like this one. I love it as it makes the job much quicker with less elbow grease on the flat surface sanding if needed.
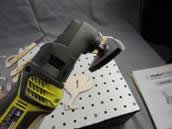 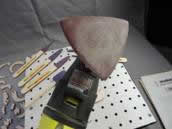 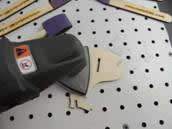
The detail sanders are very handy when working on complex puzzles like the Mansion Doll Houses or the scale model HO buildings and complex Automata Projects that we create and sell on the website.
Many of these have hundreds of parts and we suggest you make a four or five part puzzle or two and work your way up before attempting any of these unless you are an experienced Scroll Saw user.
So now you are ready to do the test assembly and its time to refer to the assembly guide PDF that came with your pattern to create a test fit before painting and final assembly.
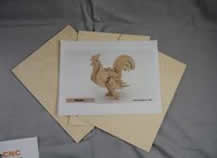 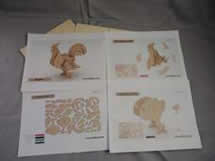
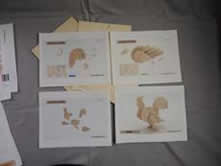 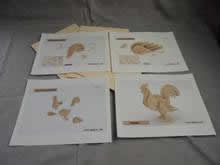
The assembly guide will supply you the information needed to assemble the puzzle.


|
